How to write, extends and nest CSS classes in JSX?
At first glance, this topic looks ridiculously simple, although if we come closer, it has a lot of minor caveats and potential errors.
#Use a dedicated library
To reduce the number of errors and unclear output and improve readability of the code, consider using a library like clsx or classnames in the following cases:
You have any conditions when a certain class name depends on
propsorstateYou have optional class names, which can be
undefined
This library (or its analog clsx) provides a simple and robust syntax to improve your Development Experience and, at the same time, reduces errors, makes the source code cleaner, and improves output results.
#Better outputs, fewer errors
Consider this screenshot of a production environment. What can we see here? An undefined classname, double, triple and quadruple spaces inside a class attribute. This looks grubby and error-prone. Nobody wants an accidental extra class like undefined!
#Better maintainability, easier to read
With the classnames library, you can relax and do not care about falsy values, extra spaces, or typescript errors of mixing different types into a string. You don’t need to use ternary operators or calculate the number of open curly braces.
Consider this example, with dynamic classnames, how easy it is to spot what makes a certain class to appear.
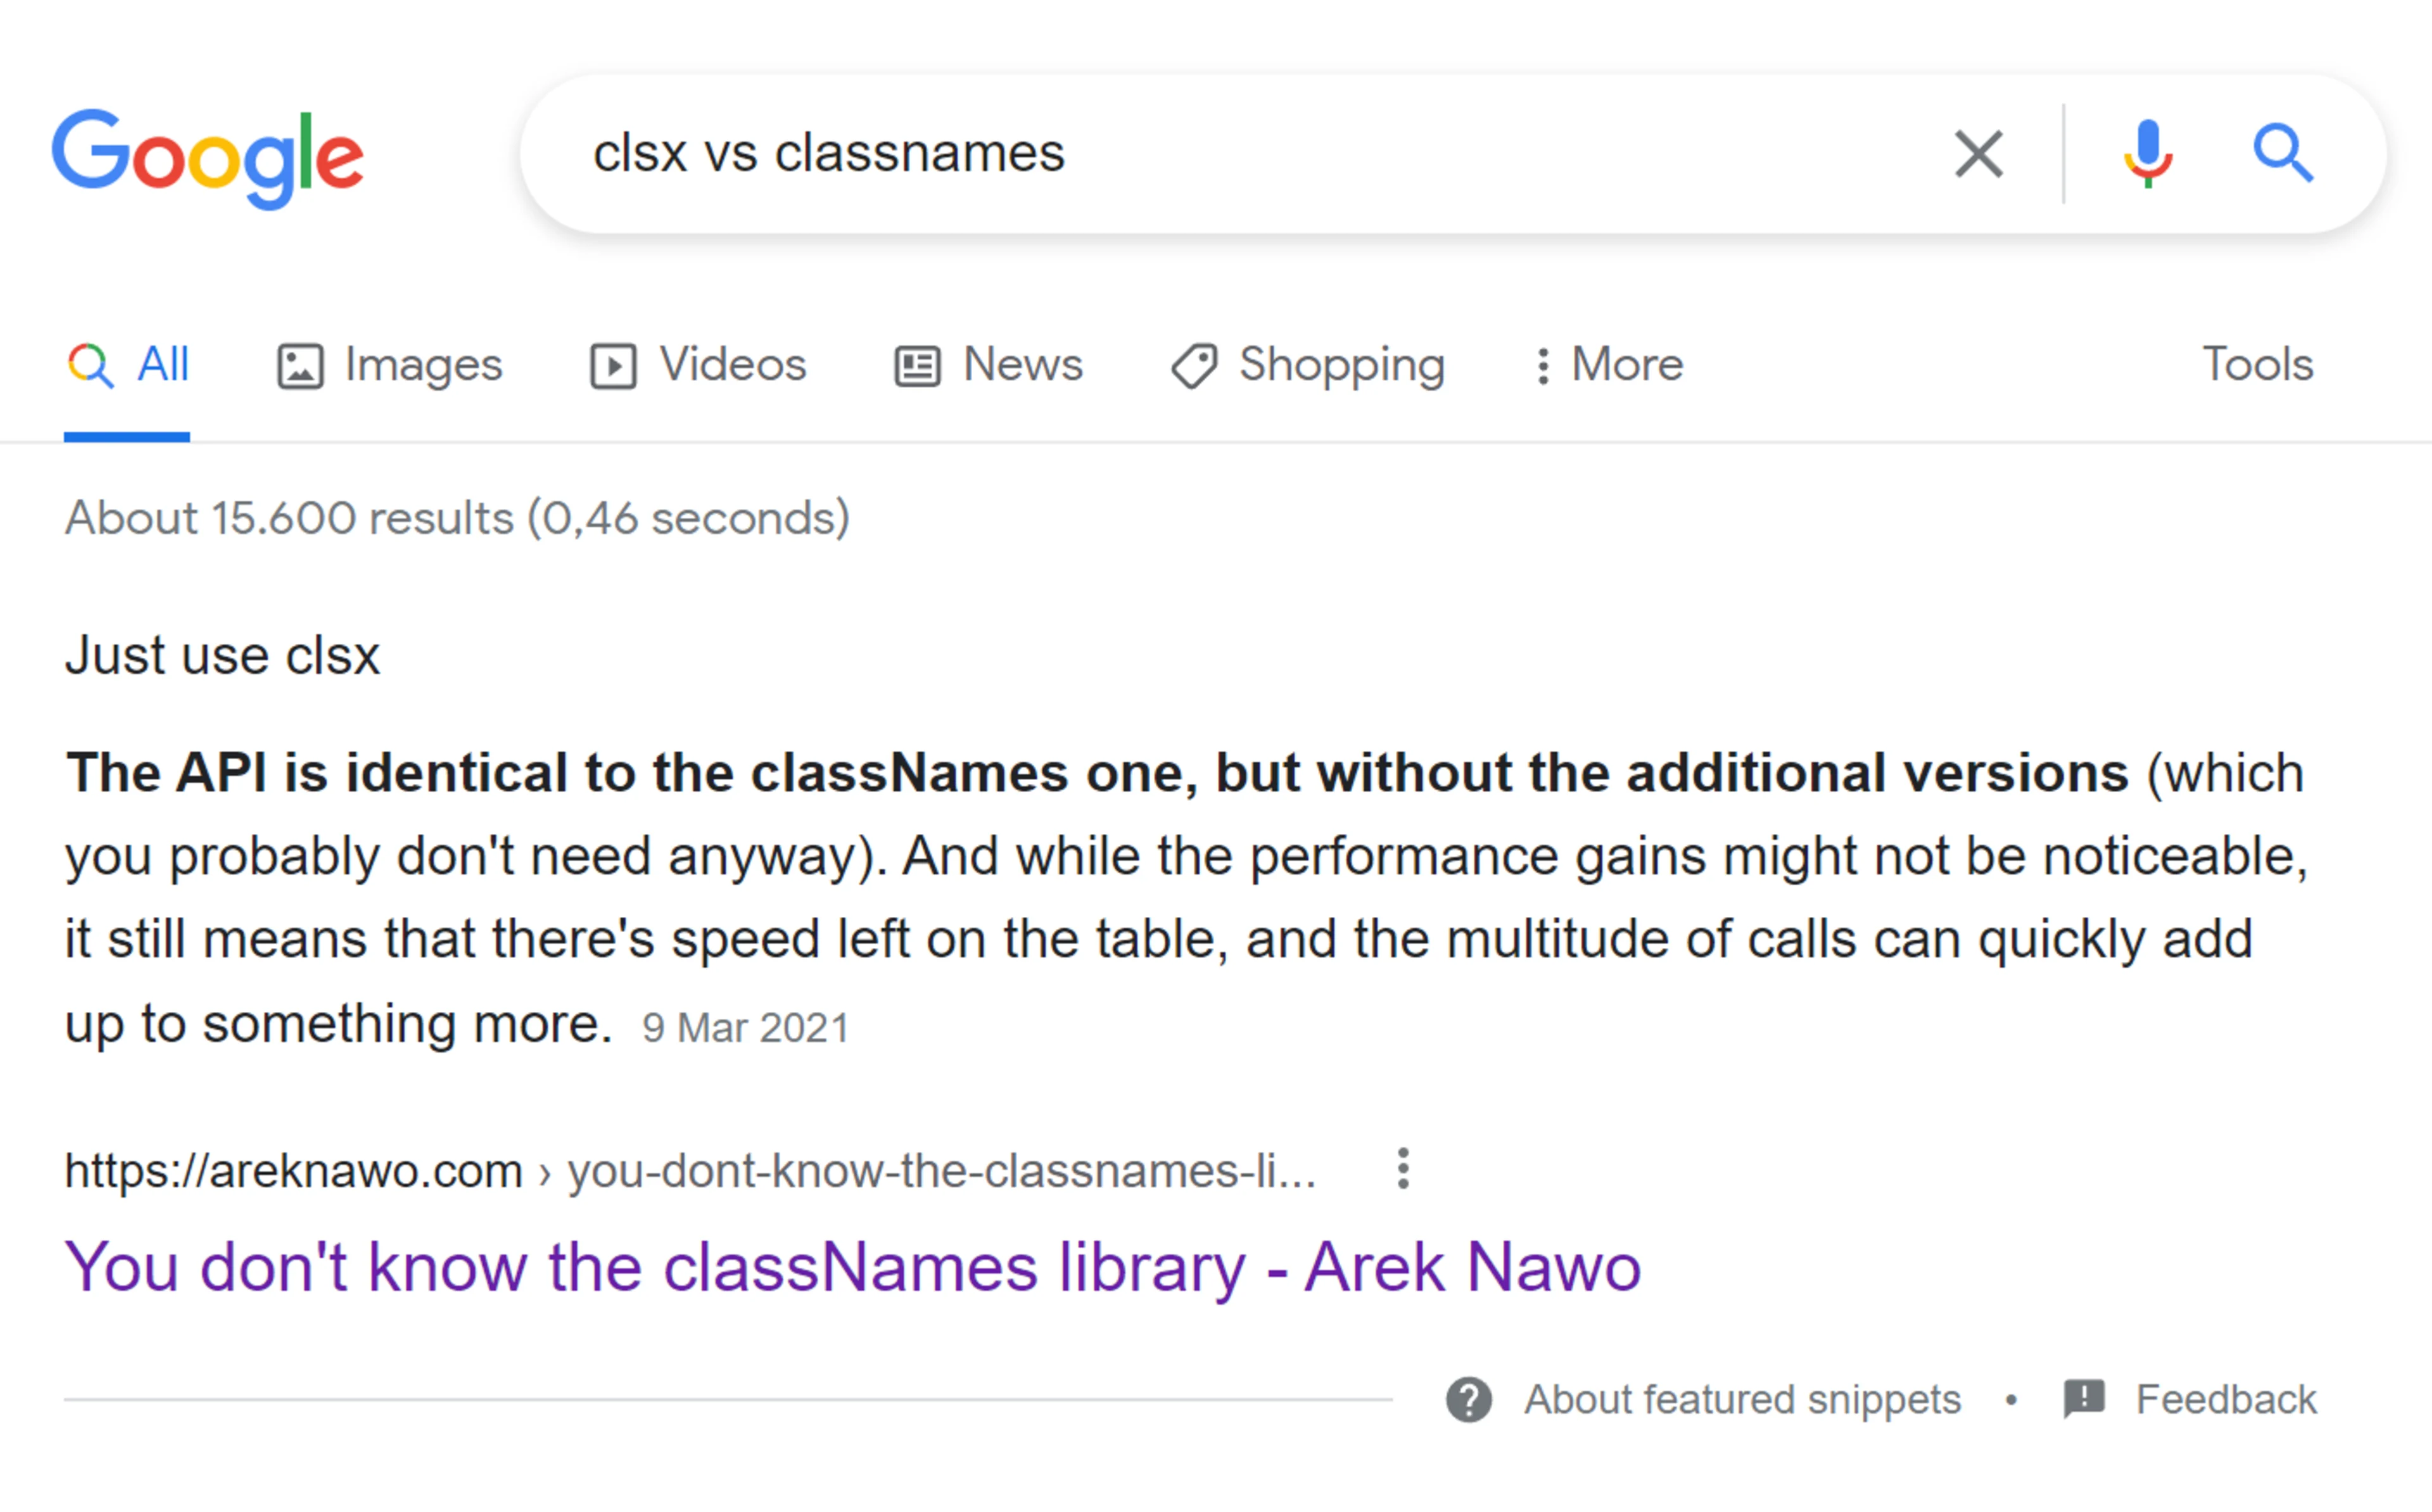
#clsx vs classname
If you google this phrase, it will answer you: “Just use clsx” 😀
The reason behind it is that clsx library has less functionality you don’t know and don’t use anyway, and as a result, it’s slightly faster and smaller (228 Bytes)
#Use simple className property
Avoid any other properties like customClass, classes, classNames, class, or anything else. Assuming you are working with React and use className property for HTML tags.
#Help with static checking
We will use eslint plugin to forbid class, customClass, and parentClass attributes using this rule.
Posted on Sunday, September 4, 2022
Updated 3 years ago
 Anna Antsiferova
Illustrator

Author